Source: https://blogs.sap.com/2017/06/12/creatin…-hybrid-app-toolkit/
Capture Date: 11.03.2018 15:08:33
Introduction
In this blog, I am going to walk through the steps of creating an offline application based on CRUD Master-Detail template from SAP Web IDE using Hybrid App Toolkit
To follow the steps mentioned in this blog post, the following prerequisites needs to be met
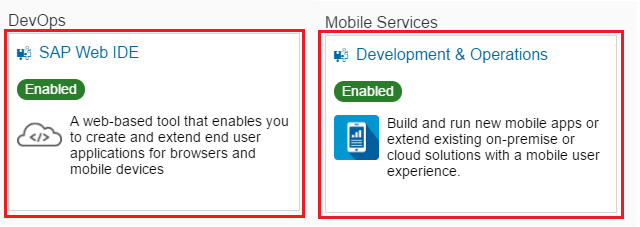
- You need a valid account on the https://account.hanatrial.ondemand.com cloud platform and enabled the following services in Cloud Platform cockpit.
- You need to install Hybrid App Toolkit local add-on in your local environment.The installation and setup instructions for Hybrid App Toolkit local add-on can be found here
- To create a CRUD master-detail application, we need a backend destination setup in SAP Cloud Platform. For this blog, we use SAP Gateway ES4 Demo System OData Service. If you have not previously signed-up for SAP Gateway Demo System, you can sign-up here
Setting up backend destination
- Access Cloud Platform cockpit using https://account.hanatrial.ondemand.com/cockpit
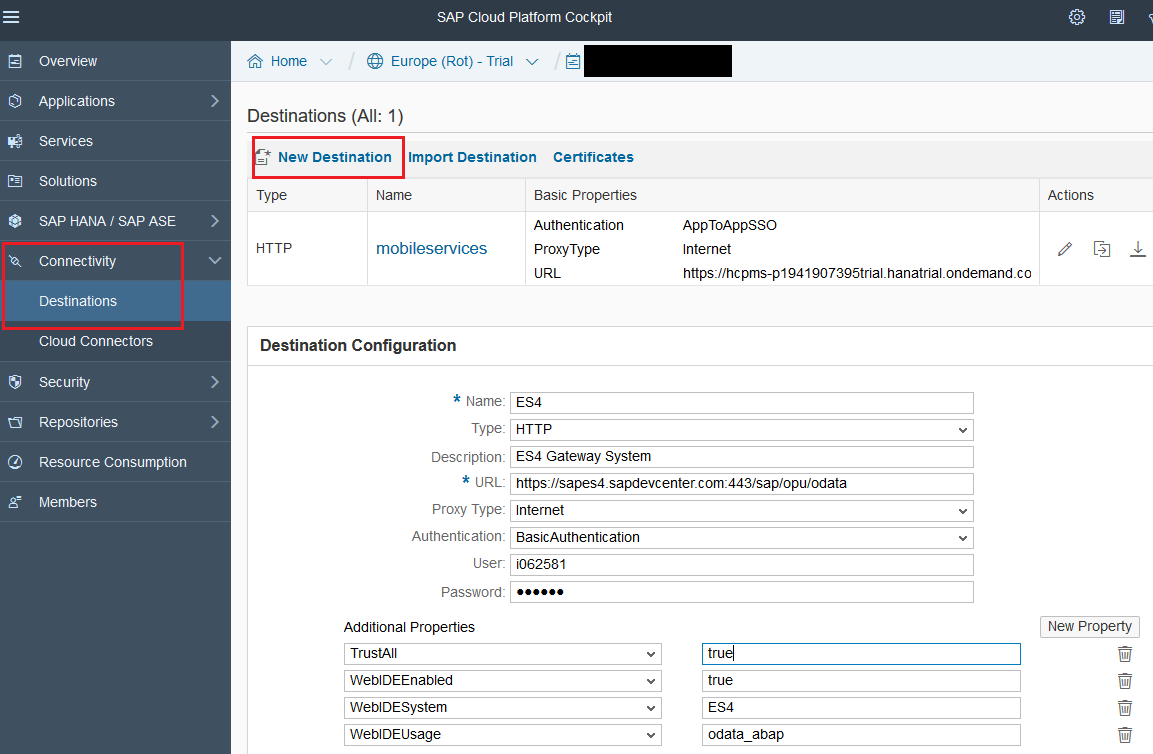
- On the left-hand side, select Connectivity tab, then Destinations tab.
- Click on the New Destination link to open new destination configuration form.
- Enter all fields as shown in below tables
For Additional Properties fields click New Property and fill-up
5. Click Save.
Enable Hybrid App Toolkit Plugin in SAP Web IDE
Before creating the project using the SAP Web IDE Project template, we need to enable the “Hybrid App Toolkit” plugin, so that Hybrid Mobile features will be available in the SAP Web IDE.
- Open SAP Web IDE using the url https://webide-<your_trial_account>.dispatcher.hanatrial.ondemand.com Replace the string “<your_trial_account>” with your HCP Trial Landscape account
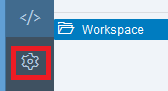
- After entering SAP Web IDE, select Tools > Preferences or click on the Preference icon directly on the left bar
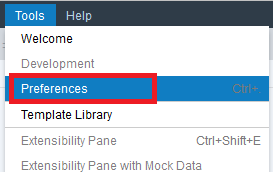
Or
3. Select Plugins. Find and check Hybrid App Toolkit to enable the plugin.
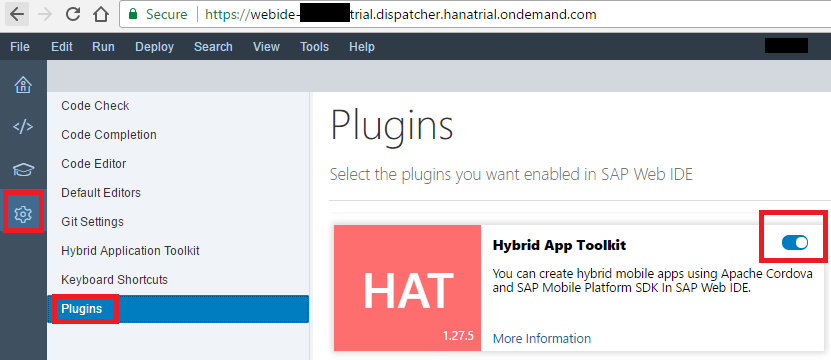
4. Click Save.
5.Click Refresh to reload SAP Web IDE
Create new project based on CRUD Master-Detail template
Now you will create a new application using the SAP Web IDE Project template wizard.
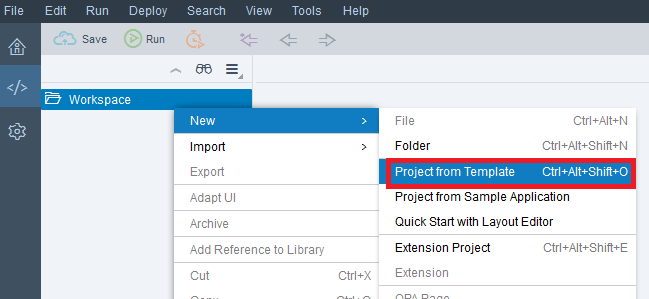
- In the SAP Web IDE select the Workspace root and open the context menu by right-clicking.
- Choose New > Project from Template to open the new project creation wizard.
3. On Template Selection page, select SAP Fiori Application category and click on the CRUD Master-Detail Application to mark it as the template to be used for your new project
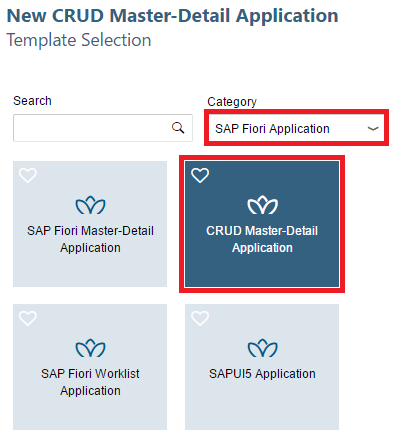
4. Click Next.
5. On the first page of the wizard, enter the Project Name as OfflineApp, Title as Products, and Namespace as com.sap.offlineapp
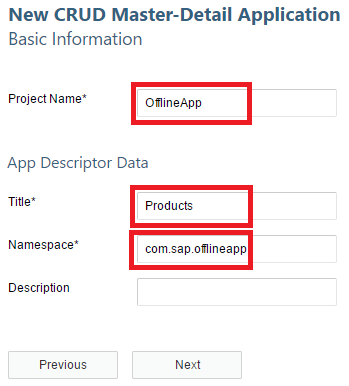
6. Click Next
7. On the Data Connection page click on Service Catalog as service source.
8. From the drop down box select the ES4 Gateway System entry.
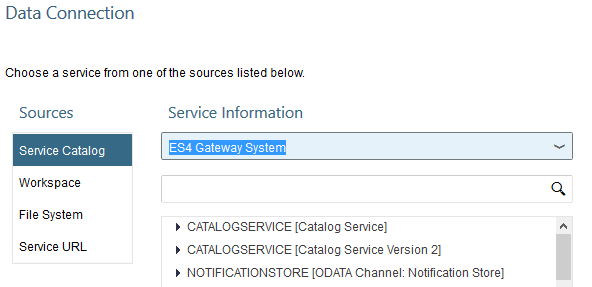
9. Type “BASIC” in the Search input field to filter
10. Select GWSAMPLE_BASIC service.

11. Click Next.
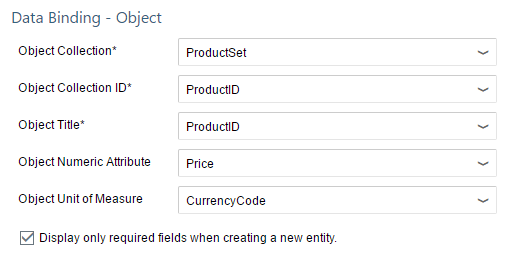
12. On Template Customization page, fill up the Data Binding – Object section as below
Check the box for “Display only required fields when creating a new identity”
13. Scroll down to the Data Binding – Line Item section,fill up the section as below.
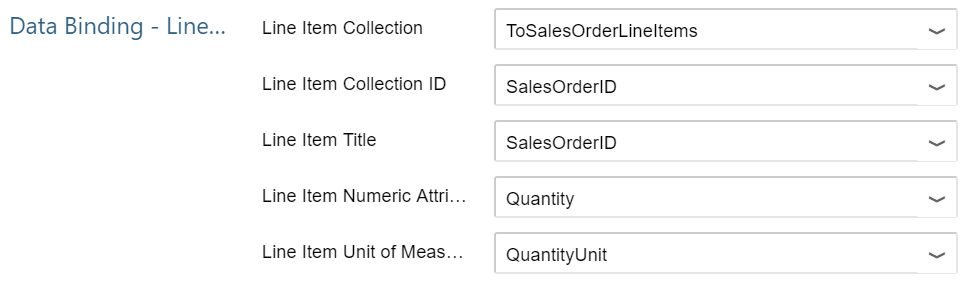
14. Click Next.
15. Click Finish to create the new application.
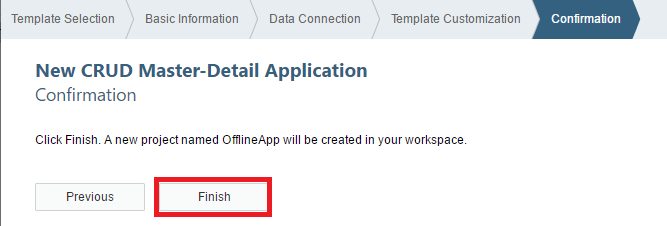
16. Run the newly generated web application
17. Congratulations! You developed your CRUD Master-Detail application and you see it already running in preview mode.
Configure Offline Settings to the project
- Go to Workspace, select OfflineApp/webapp/manifest.json and open it code editor.
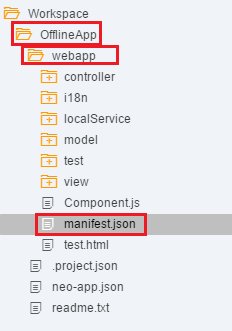
2. Switch to code editor view

3. Add the following code snippet at the end of the file
"sap.mobile": { "_version": "1.1.0", "definingRequests": { "ProductSet": { "dataSource": "mainService", "path": "/ProductSet?$expand=ToSalesOrderLineItems" } } } 4. Save and close the file
Add code to Synchronize data
In this step, we will add a button to the Master view and a javascript code to the button press event to synchronize data to and from back end to offline store on the device
- Go to Workspace, select OfflineApp/webapp/view/Master.view.xml
- Right click on Master.view.xml, choose Open With/Layout Editor
- Now we can view the file in Layout Editor. Drag the Button and drop to bottom panel of our app.
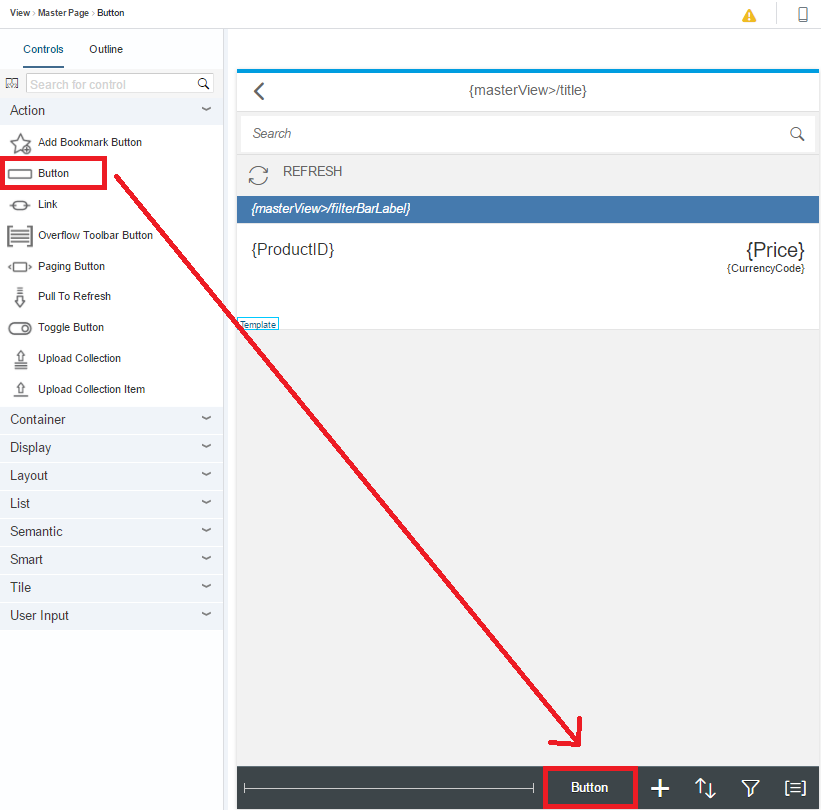
4. Select the button on the bottom panel that we just added. On the right-hand side canvas, we will see a Properties/Button setting panel. Delete values in Text and Width properties, add sap-icon://refresh to Icon property.
5. Now your bottom panel should look like this

6. On the right-hand side canvas, select Events setting. and Press, New Function
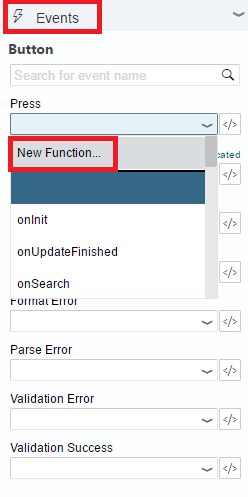
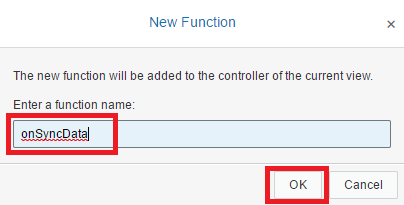
7. Enter onSyncData, click OK
8. Go to Workspace, open OfflineApp/webapp/controller/Master.controller.js file.
9. Replace empty onSyncData function with the following code
, onSyncData: function() { if (sap.hybrid && sap.hybrid.isApplicationOnline()) { this.getView().setBusy(true); sap.hybrid.synAppOfflineStore(jQuery.proxy(this._syncSuccess, this), jQuery.proxy(this._syncFailed, this)); } else { this._oODataModel.refresh(); } }, _syncSuccess: function() { sap.m.MessageToast.show("Data Synchronization succeeded", { duration: 3000 }); this.getView().setBusy(false); this._oODataModel.refresh(); }, _syncFailed: function() { sap.m.MessageToast.show("Data Synchronization failed", { duration: 3000 }); this.getView().setBusy(false); this._oODataModel.refresh(); } 10. Save and Close both view and controller files
Create an application on SAP Cloud Platform mobile services
- Go to your CPms Administration page (https://hcpmsadmin-<your_trial_account>.dispatcher.hanatrial.ondemand.com). Replace the string “<your_trial_account>” with your HCP Trial Landscape account
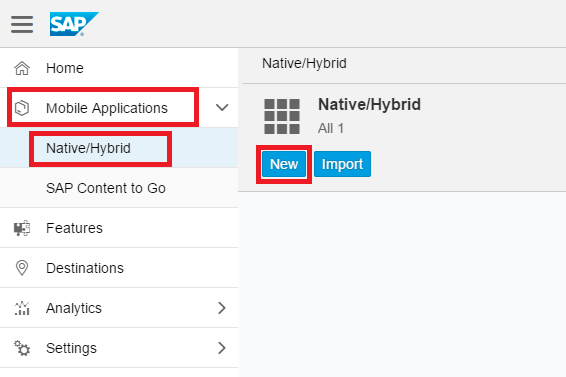
- Select Mobile Applications, then Native/Hybrid. Click new button
3. In the New Application pop up dialog, fill up with the following values
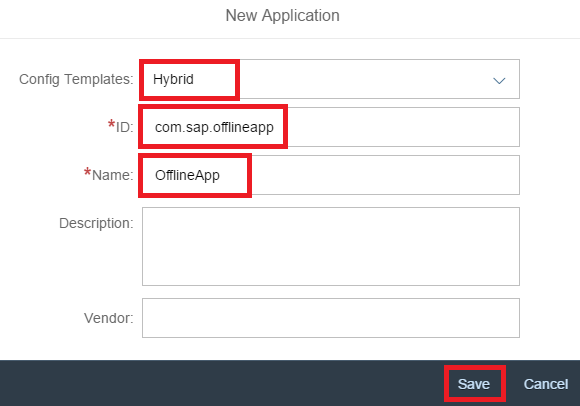
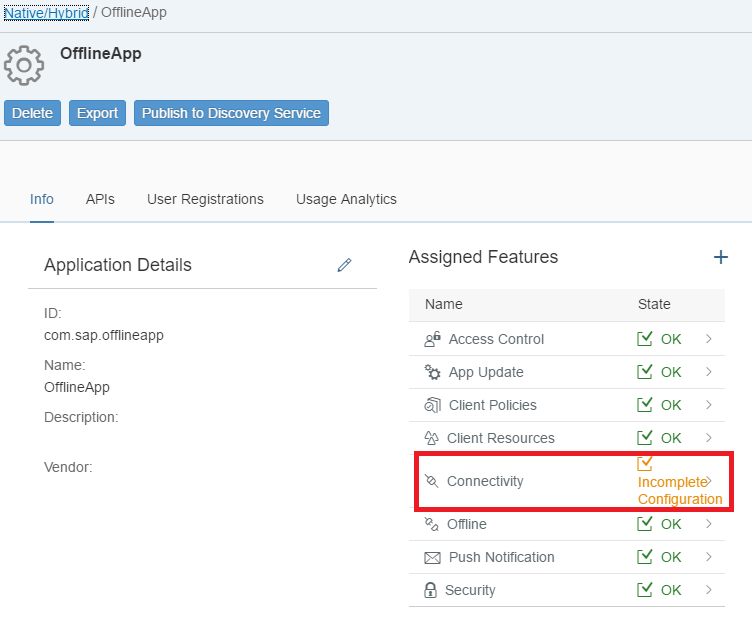
4. Click Save button. This saves the application and go to Edit Application page
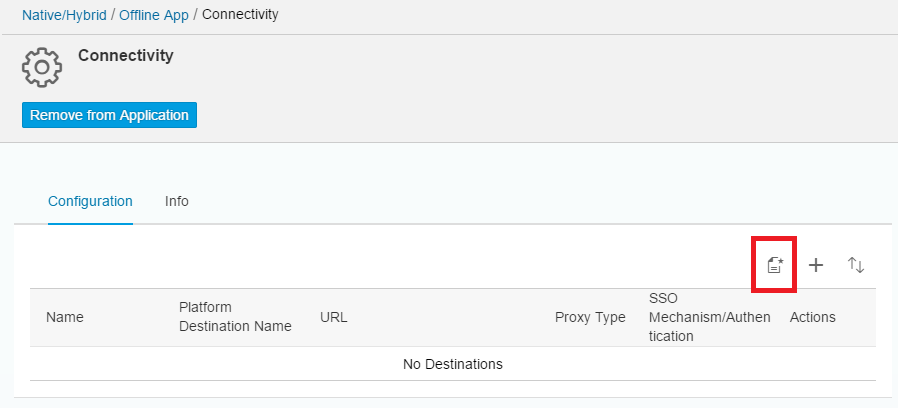
5. In editing application page. Select Connectivity
6. Click on new destination Icon to create new destination
7. In Create Destination popup dialog, choose Mobile Destination for Type, and com.sap.offlineapp for Destination Name
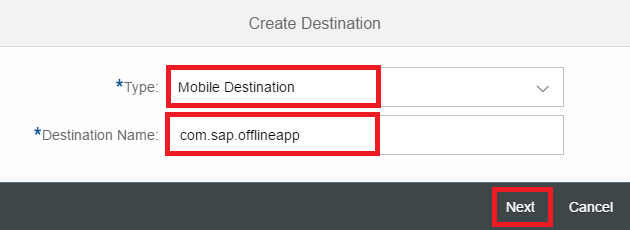
8. Click Next
9. Fill-up the values as below
10. Click Next
11. Choose Basic Authentication for SSO Mechanism
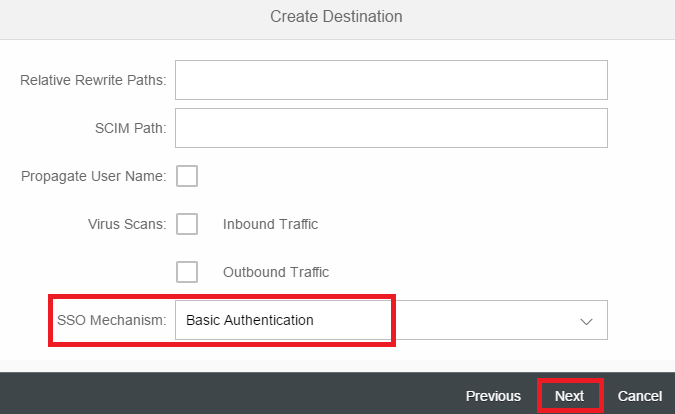
12. Click Next.
13. Fill in the User Name and Password for the backend account (SAP Gateway ES4 Demo System OData Service account).
14. Click Next and click Finish.
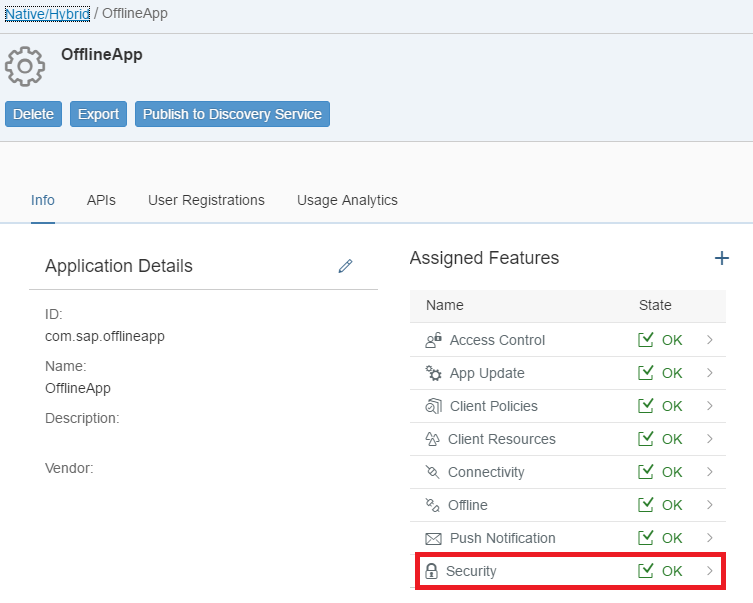
15. Go back to Edit Application page, and choose Security
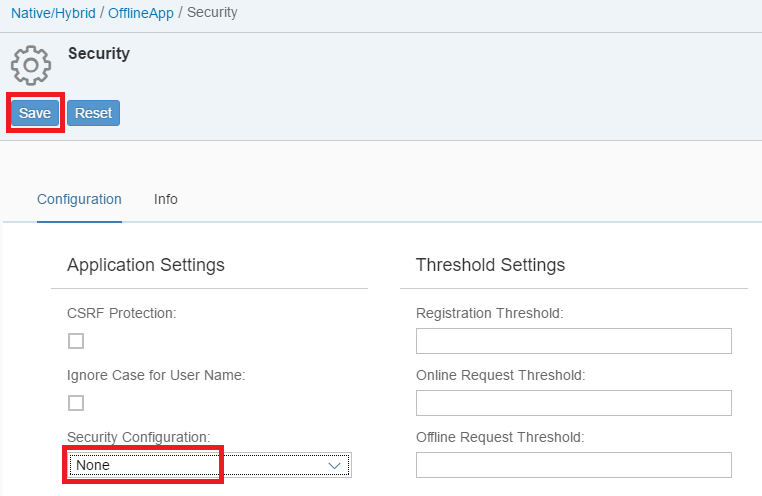
16. Change Security Configuration to None, and then click Save
Configure Hybrid App Toolkit Local Add-on Settings
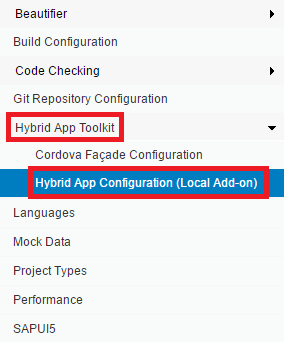
- Right click on OfflineApp, select Project Settings
- Choose Hybrid App Toolkit/ Hybrid App Configuration (Local Add-on)
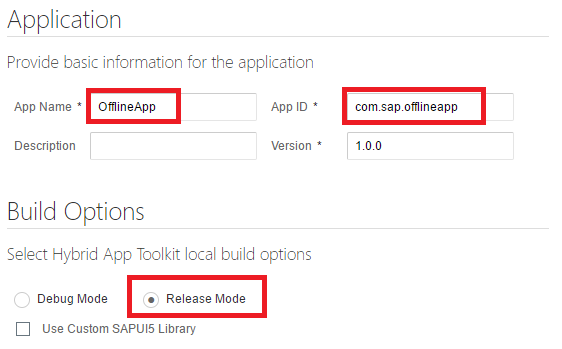
3. For Application section, enter the information as shown below. And for Build Options choose Release Mode. For Platforms, select Android
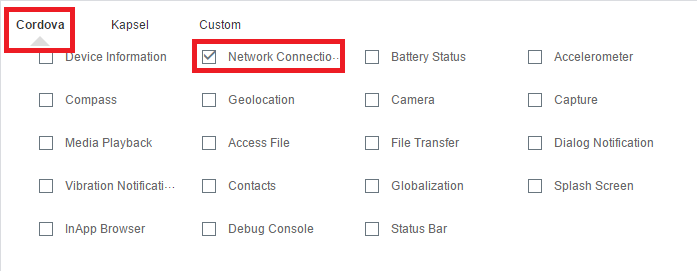
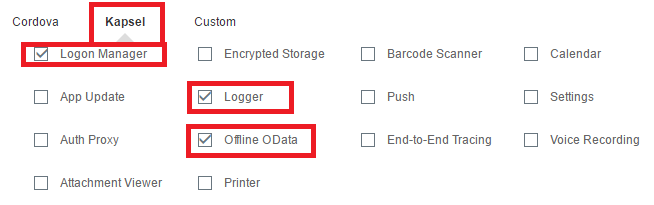
4. For Plugins section, under Cordova tab, check Network Connection; under Kapsel tab, check Logon Manager, Logger and Offline OData
5. Click Save button
Now we are ready to deploy the app to mobile devices through Hybrid app toolkit
Deploy the app to mobile devices
In this step we are going to deploy the app to selected mobile device and run the application in offline mode
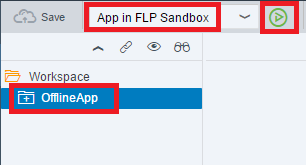
- Right-click on OfflineApp project and choose the menu option Run à Run On and choose your desired device/emulator
- Wait for the HAT local add-on to created Cordova Project, Build the application in desired platform, Install the App on device and launch the application on device
- On start-up, application will load the Logon Screen as below
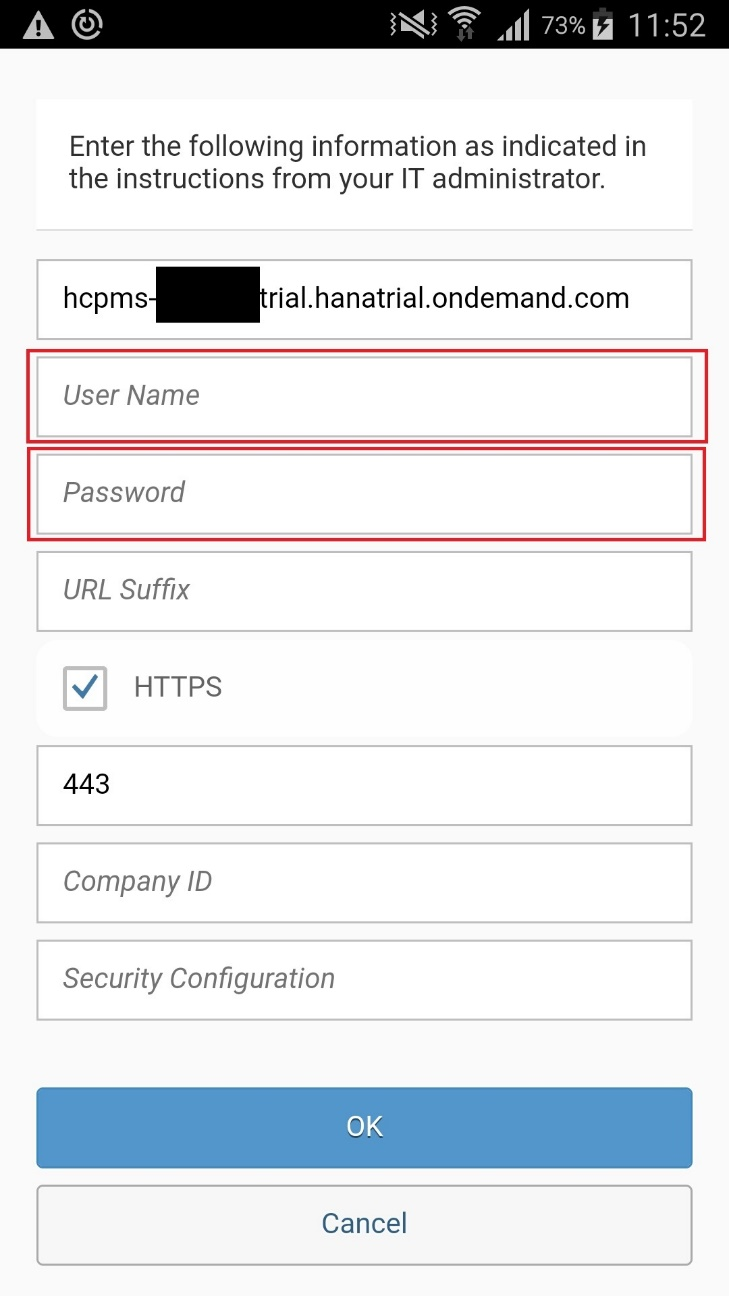
4. Enter your backend Username and Password and tap OK on Logon screen. If Logon is successful, you will see the Passcode screen.
5. Tap Disable Passcode button to load the application. It will show the loading screen as below. This is an indication that our application is an offline application
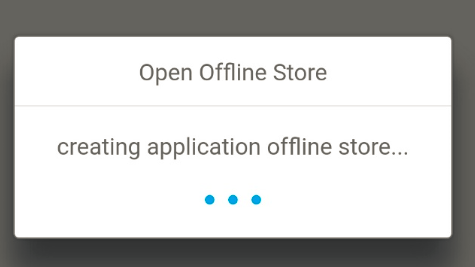
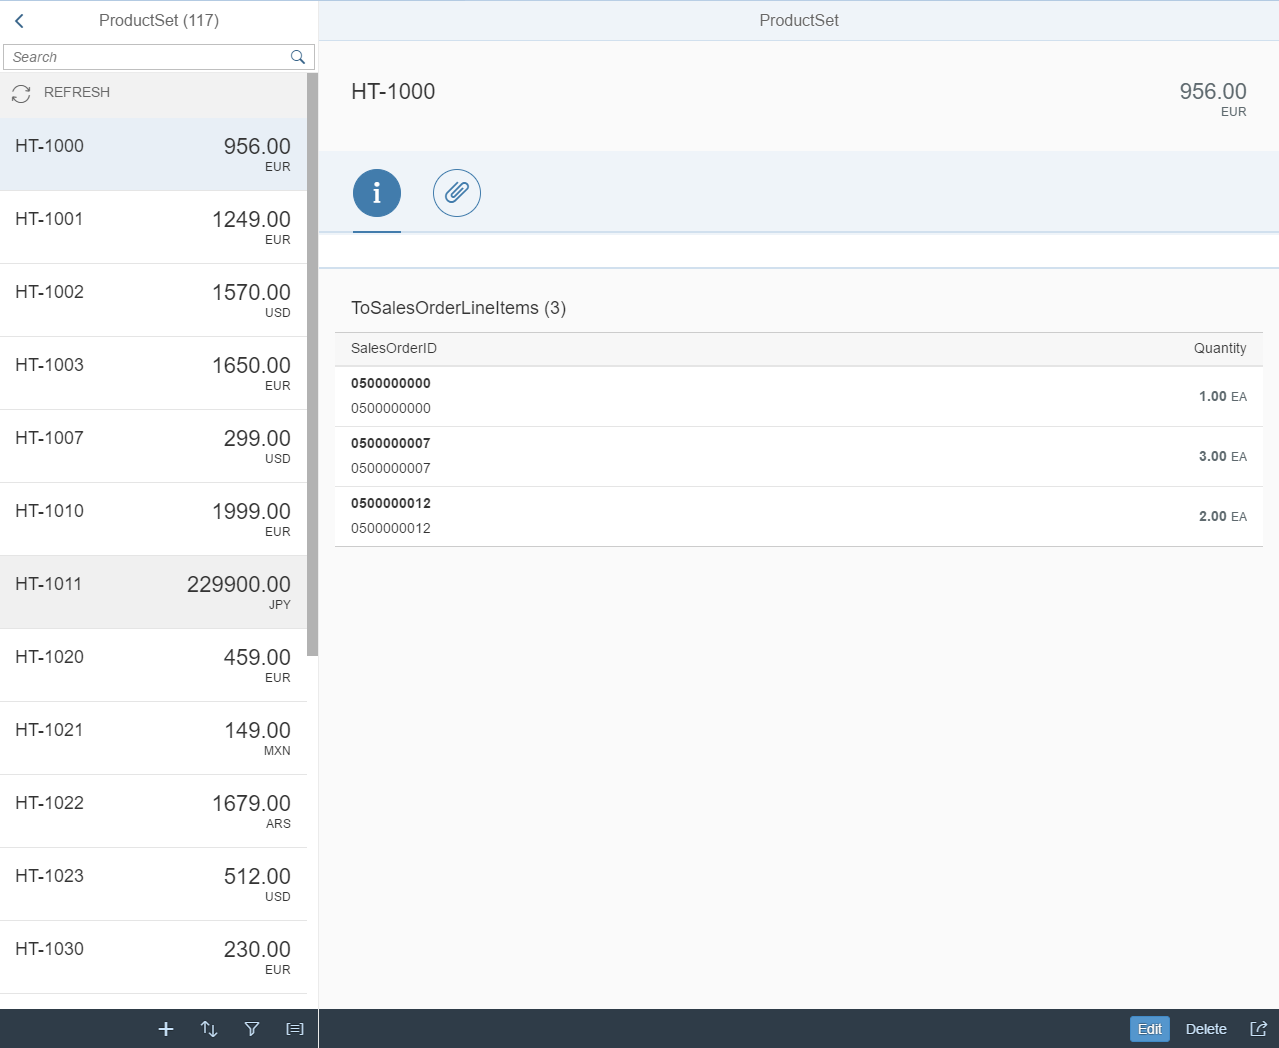
6. After creating offline store, the application screen should be like below
Testing the offline functionality of the app
To verify whether our app’s offline functions are working correctly, we can try the following steps
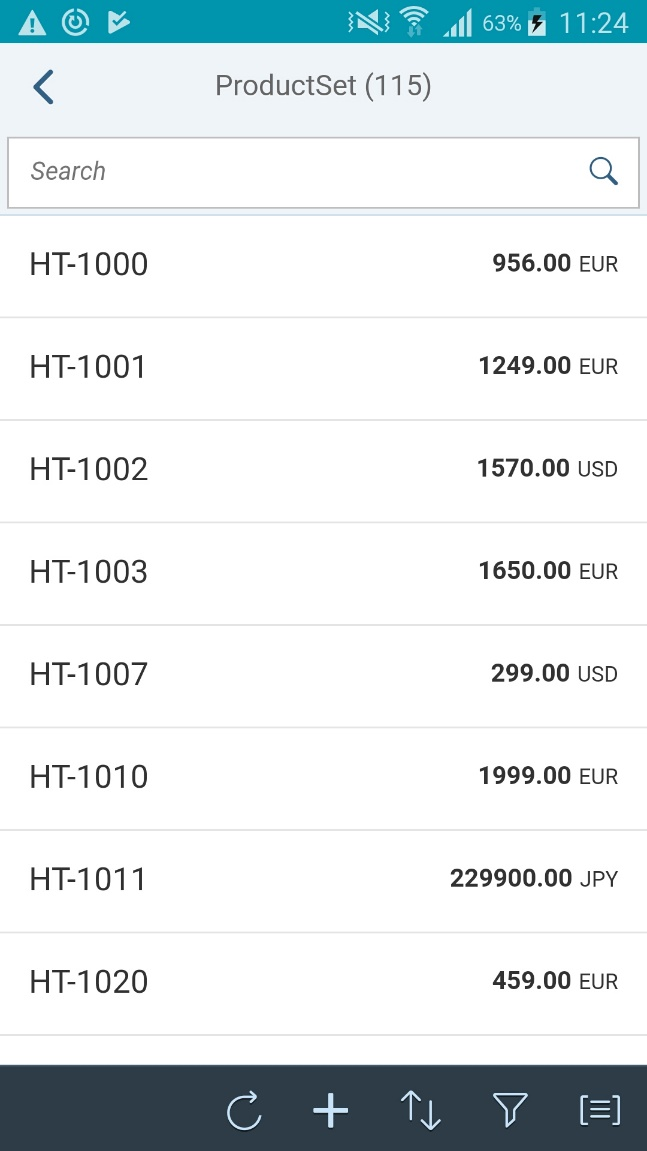
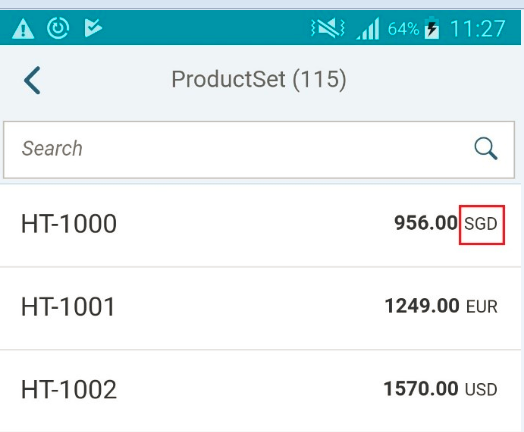
- Tap on HT-1000 row in master screen. This will navigate to detail screen.
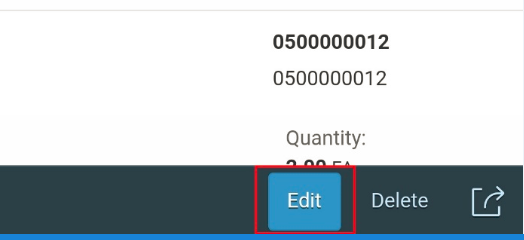
- Click the Edit button on the detail page of item HT-1000.
3. Change the Currency Code from EUR to SGD.
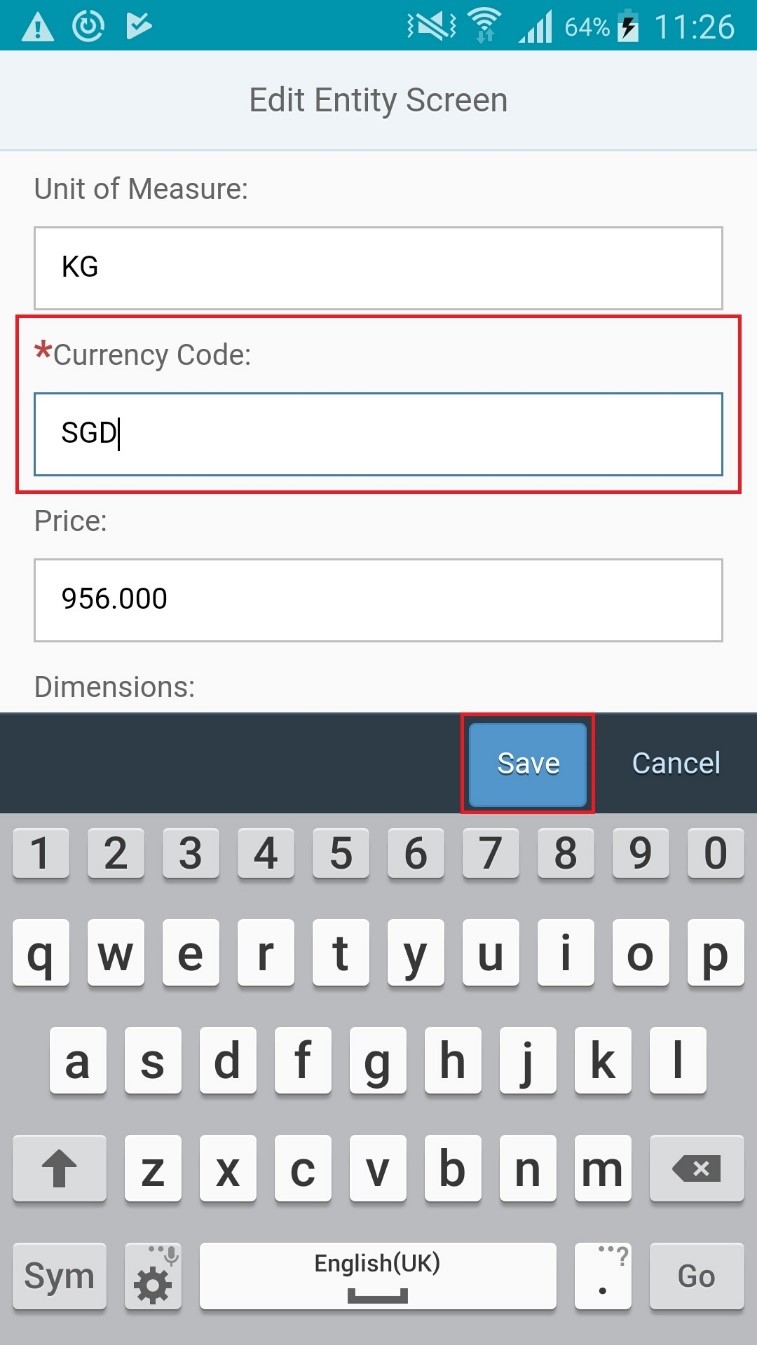
4. Click Save button.
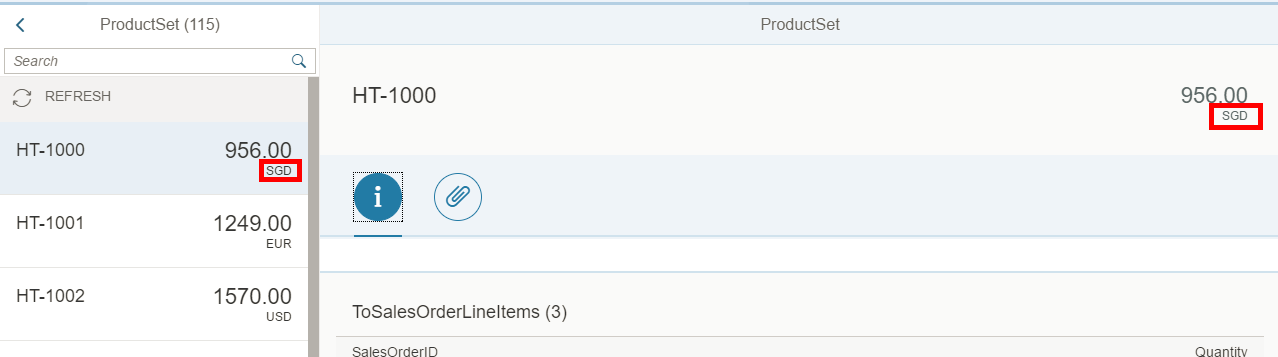
5. Now on the phone screen, we can see that the currency code of HT-1000 has been changed.
6. Switch to WebIDE, and click run, to run our web app. We can see that the currency code of HT-1000 remains at EUR. This is because the changes we make on mobile app is only stored on local store and not yet updated in backend service.
7. Switch to the mobile app, and click the Synchronization button, wait for the synchronization completed successfully.
8. Switch to the web app that we are running, and refresh the page. We can see that after synchronization, the currency code is finally updated to SGD.